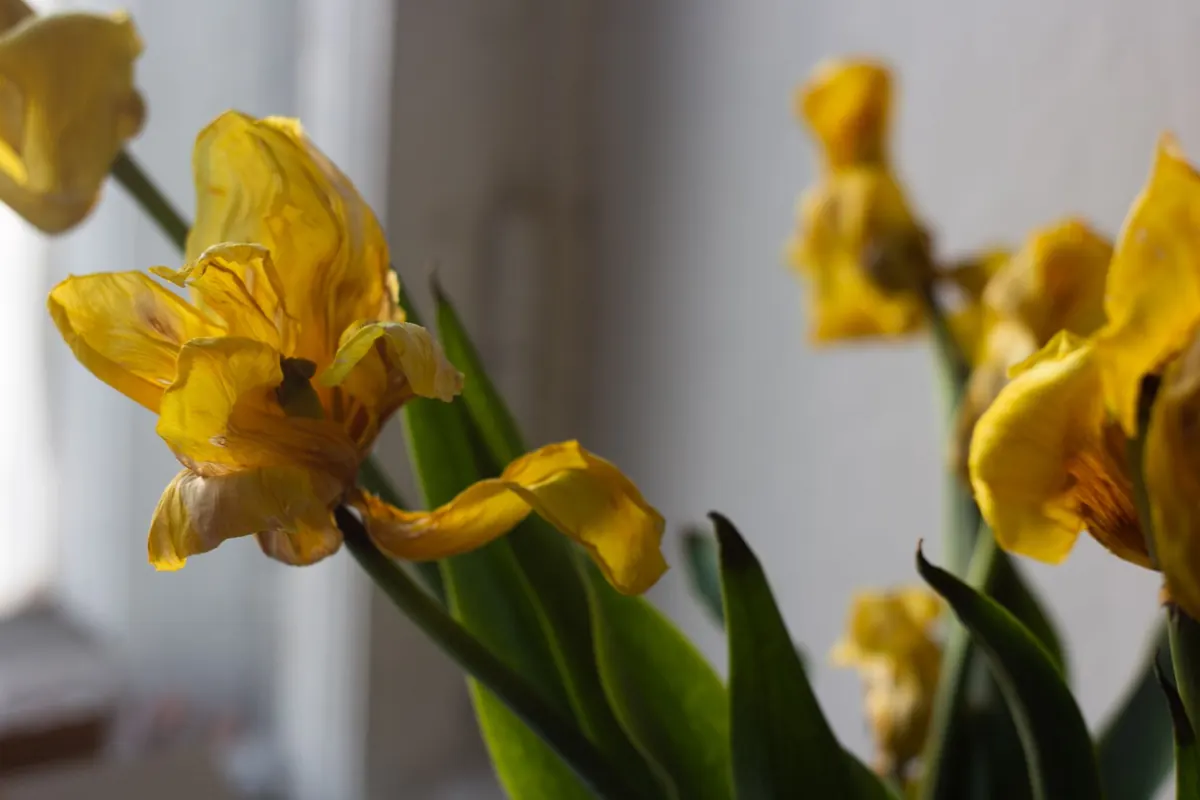
By the middle of May the tulip season is winding down. Petals are scattered on the soil, stems are leaning, and the leaves that looked so crisp in March are flopping over the edge of the border. It is tempting to clear the whole lot in an afternoon. Resist that for a few weeks. The period between flowering and full dormancy is when next spring's flowers are actually being made, and how you treat the plants now decides whether the same bulbs perform again or quietly fade away.
What follows is the order of work: deadhead first, feed while the leaves are still green, then leave the foliage alone until it dies back on its own.
Why the weeks after flowering matter
A tulip bulb runs on a simple cycle. It flowers in spring, then rebuilds. The leaves act as solar panels, turning light into sugars that travel down the stem and are stored in the bulb through the dormant summer. Those reserves are what form next year's flower.
Cut the leaves off early and you cut the fuel supply. The bulb rarely dies outright, but it shrinks. Next spring you get shorter stems, smaller blooms, or a blind shoot with no flower at all. So the aim from now until roughly early June is to keep the foliage green, healthy and in good light for as long as possible, while stopping the plant from wasting energy on seed.
Deadheading: the first job
As soon as a flower has gone over, take the head off. On tulips this is quick, unglamorous work: snap or snip the stem just below the flower and drop the petals into a bucket rather than onto the soil.
Two reasons. If the plant is allowed to set seed, some of the energy that would have gone back into the bulb goes into the seed head instead. Many garden tulips set little or no viable seed, so the saving is modest but real. More immediately useful, fallen petals are a favourite landing place for botrytis, the fungus behind tulip fire. Grey-brown patches, twisted shoots and a fuzzy grey mould are all signs of it, and damp petals lying across the foliage make it worse.
How to deadhead a tulip
- Do it early, as the first petals drop or the flower starts to look tired.
- Hold the flower head in one hand and the stem just below it in the other.
- Snap the stem cleanly, or use sharp, clean secateurs if the stem is thick.
- Leave every leaf and as much stem as possible intact.
- Clear the heads and any fallen petals from the soil surface and bin them. Do not put diseased material on the compost heap.
If you grow species tulips such as Tulipa sprengeri or T. sylvestris in a gravel garden or meadow, leave the seed heads on. They will spread where the conditions suit them, and the pods are part of the charm.
Feeding: give the bulb something to work with
Flowering is hard work. A light feed while the leaves are still green helps the bulb finish the job properly.
- Start about a week after deadheading.
- Use a liquid tomato feed or a dedicated bulb fertiliser, diluted as the label directs, roughly once a fortnight while foliage is green.
- High-potash feeds suit this stage better than a nitrogen-heavy general feed, which pushes soft leaf growth the plant cannot use.
- Water it around the base rather than over the leaves, and only if the soil is dry.
- Stop feeding once the leaves begin to yellow. There is nothing left to take it up.
Watering matters as much as feeding. In a dry spring, give borders and containers a good soak about once a week rather than little and often. Once the foliage has died back completely, stop. Tulips want a dry summer rest, and keeping them damp through July and August is one of the commonest reasons bulbs rot in the ground.
Letting foliage die back: the hard part
This is where most tulips are ruined. The leaves must be left until they turn yellow, then straw-brown and papery. That usually takes six weeks or so after flowering, longer in cool, wet weather. Only then has the bulb finished with them.
- Do not cut, mow or pull the leaves while any green remains.
- Do not tie them in knots or braid them tightly. Folding leaves up cuts the light reaching them and reduces the energy going back to the bulb.
- Do not smother them under a thick layer of mulch.
- Do not tug at yellowing leaves. Wait until they come away with a gentle pull.
If the collapsing foliage bothers you, hide it rather than remove it. Plant tulips behind perennials that emerge late, such as hardy geraniums, nepeta or ornamental grasses, and the gap will be filled by the end of May. In a formal border, a low summer annual planted in front will do the same job.
Tulips in pots
Containers follow the same rules, with one difference: compost dries out fast. Water and feed as normal while the leaves are green, because a parched pot in May means small bulbs next spring. When the foliage has yellowed, stop watering altogether and move the pot somewhere it will not catch the rain, perhaps under a bench or against a sheltered wall.
Then either leave the bulbs in the pot, dry and dormant, or tip them out and store them. Be realistic about results: tulips in containers often give a smaller show in their second year, which is why many gardeners treat potted tulips as annuals and start with fresh bulbs each autumn.
Lifting and storing bulbs
If you need the border space, or your soil is heavy clay that stays wet all summer, lift the bulbs. Wait until the leaves have yellowed, then fork them up carefully, keeping the stems attached. Spread them in a tray in a shed or garage, out of direct sun, for a week or two until the skins are dry.
Clean off loose soil, rub away old roots and papery outer skin, and discard any bulb that is soft, mouldy or smells sour. Store the rest in paper bags or shallow trays in a cool, dark, airy place. Check them once or twice over summer, removing anything that has started to rot. Replant in October or November, about three times the bulb's own depth.
A simple post-flowering routine
If you remember nothing else, remember this sequence. Deadhead within a few days of the flowers fading. Feed and water for about six weeks while the leaves are green. Then stop both, and leave the foliage in place until it is brown and papery. Tidy it away only when it pulls free with no resistance, and keep the soil around dormant bulbs dry through high summer.
One caution: if tulip fire has been a problem in a bed, clear away every scrap of foliage and petal from that spot rather than composting it, and give the area a break from tulips for a few seasons before planting again.
Photo: Plato Terentev / Pexels